Wednesday, February 22, 2012

Homemade Vanilla Bean Ice Cream, Chocolate Fudge, Bread Pudding and Beyond

Hi baking dolls! This weekend, my boyfriend and I had what we called “Cooking Day 2012” which of course included baking too! Though the name of the day isn’t very creative, we had such a blast cooking and baking and just spending time together. We made a vanilla bean ice cream using the Cuisinart Pure Indulgence Frozen Yogurt and Ice Cream maker. To anyone looking for an ice cream maker – it works wonderfully and is fairly simple to use! The ice cream tastes so fresh and amazing, we want to use it constantly and never buy ice cream anymore! It’s sold at Bed, Bath and Beyond FYI.

So – back to the vanilla bean ice cream. We got the recipe out of the cookbook that comes with the ice cream maker. We’ve made a few recipes from the book and for the most part, they were all winners! I personally am not a huge fan of vanilla (you guys can hate me, but I think vanilla lacks flavor sometimes) so I decided to make a chocolate fudge to drizzle on top. Though the fudge was excellent (recipe and photos below) the vanilla bean ice cream could have easily stood on its own. The flavor was really a punch of vanilla, so refreshing! So, without further ado, see below for the ice cream and fudge creation!


The end result! The texture is a bit on the softer side, so we put it in the freezer overnight
We just couldn't help it and had to taste it as soon as it was ready! It was still delicious.


I took a photo of the ingredients - pretty simple recipe.
We had most of the stuff already, excluding the vanilla bean itself.


Let's get going! Bringing the ingredients to a boil


Vanilla bean. This little guy was $10 at Pathmark ahhh!
But when I say the ice cream had a punch of vanilla flavor, i'm sure I had this to thank.


After we let it cool, Greg poured the mixture into the ice cream maker. Woohoo!
It's pretty much on autopilot after this point -
we checked it once in a while but the maker does all the work.
I believe we left the mixture in here for about 30min


Here it is!
As I said, it was a little more on the soft-serve side texture wise, but we didn't mind it.
We put the ice cream in little martini glasses just to be fancy =)


And with the fudge! Ohhh the smell of chocolate cooking was phenomenal


We found the recipe on the website Not Rachel Ray (love the name)
I looked at a few, but picked this recipe since I had most of the ingredients.
Highly recommended if you're making fudge!


And it begins...whisking together the sugar, flour and cocoa
You guys like my giraffe whisk?


Adding the second phase. Whisk whisk whisk on medium heat


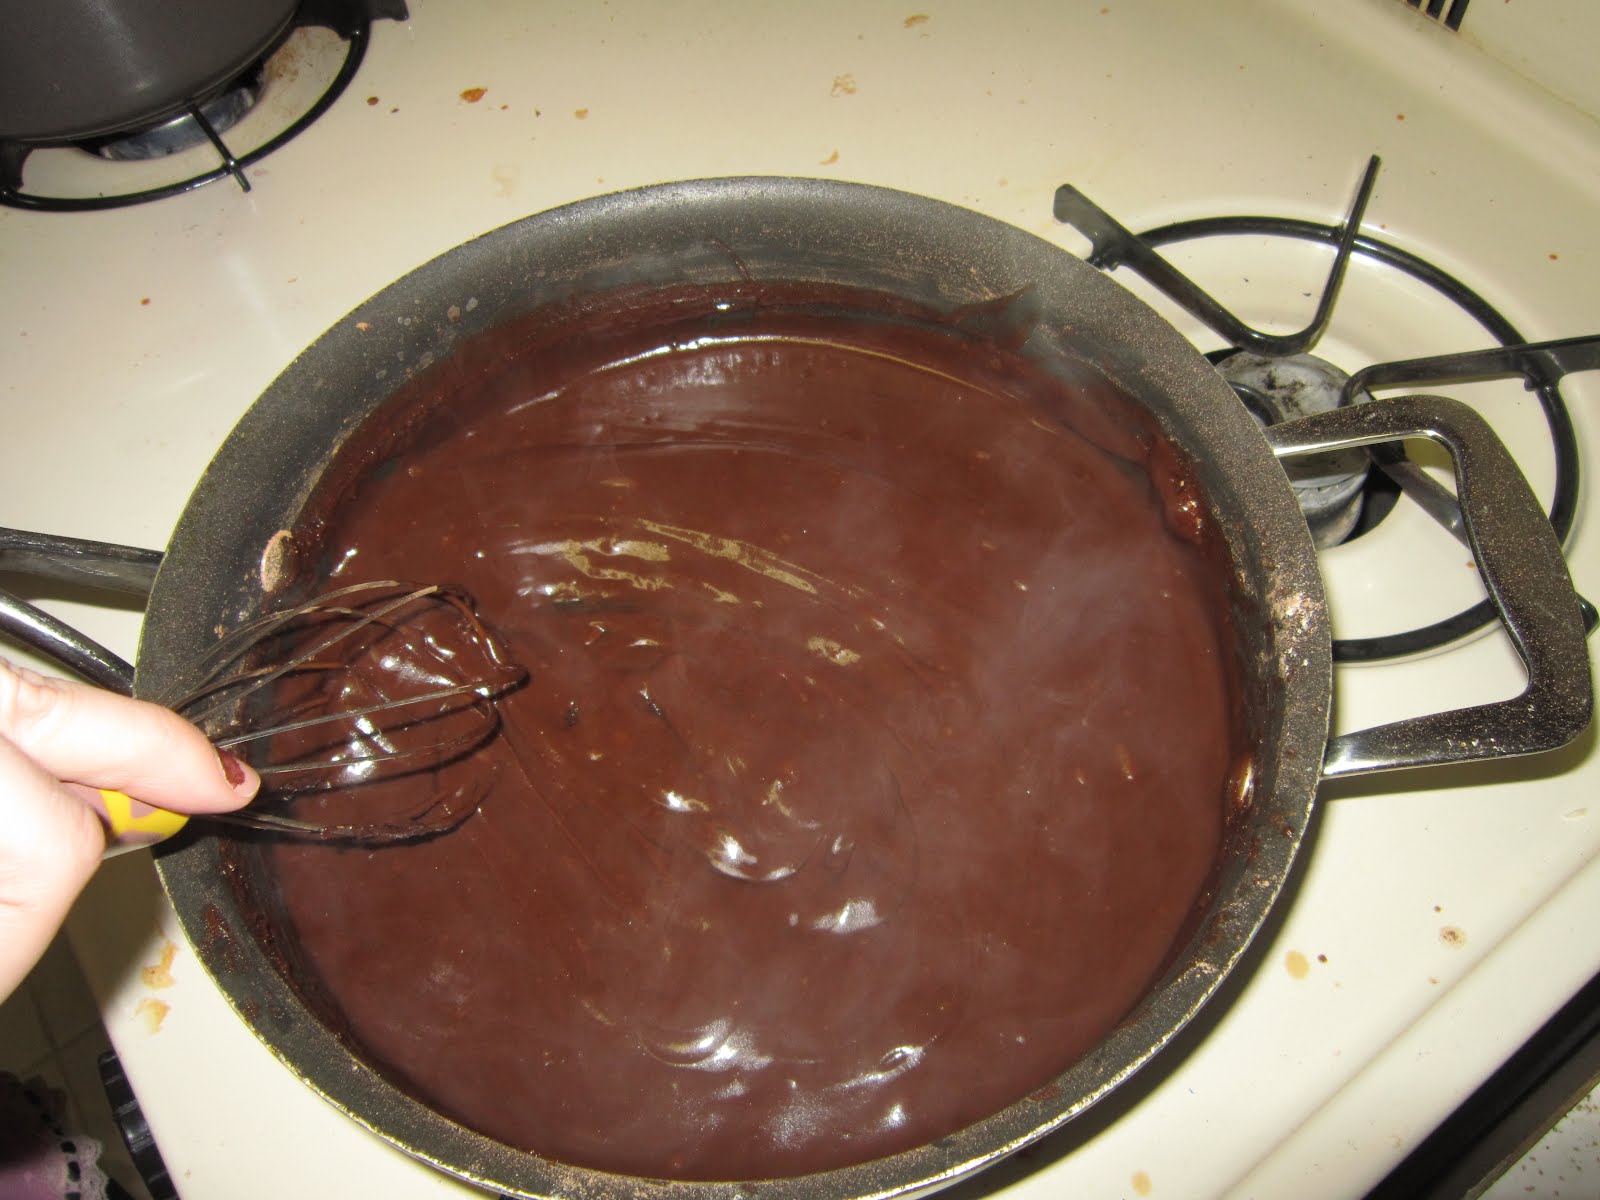
Yay! It's beautiful! After boiling for 2-3min, it looked like this.
It does thicken after it cools down, as the recipe states


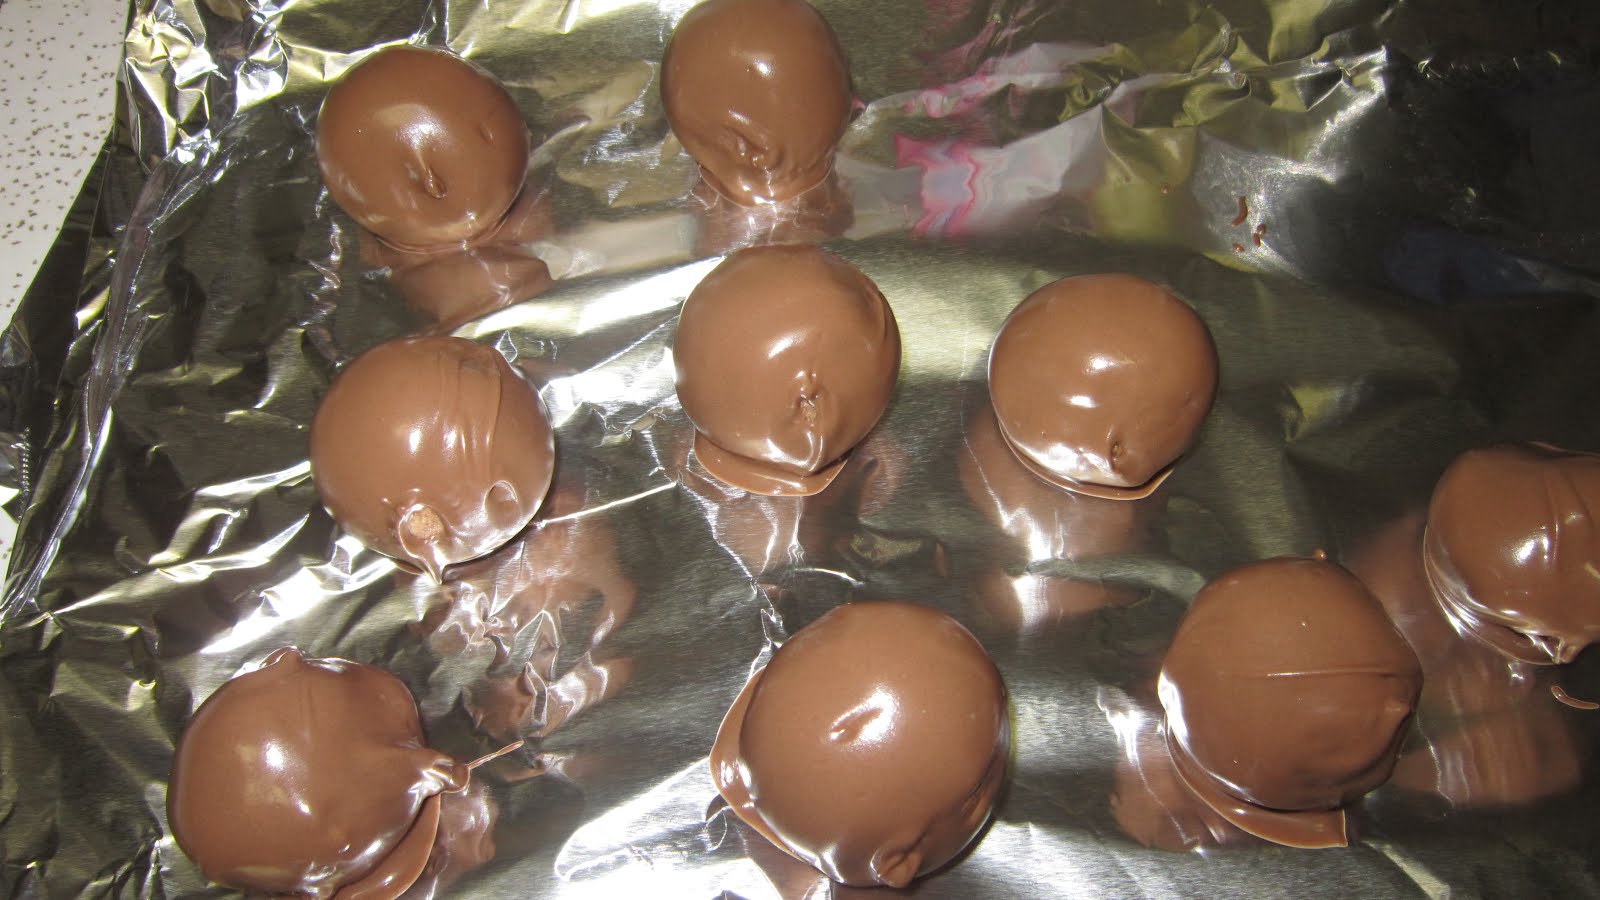
All ready to go on top of some ice cream!
After I was done using, I put it in the fridge.
Next time you want to use it, just heat it back up a bit and you're good to go!


Greg made steak and potatoes for dinner.
Love that he is such an amazing cook!


He also made this bread pudding with Jack Daniels sauce.
It just came out of the oven and was so warm and delicious!


And last but not least, us! This was at a hibachi place a few weeks ago.


Hope you guys enjoyed my post, come back and visit soon! xoxo


Tuesday, February 21, 2012

Majesty Bakes Cakes on Twitter!

Woohoo big step! Please follow me on Twitter if your little heart desires: MajestyBakes.
Click here to follow! https://twitter.com/#!/MajestyBakes

What a busy weekend! My boyfriend and I had "Cooking Day 2012" yesterday, as we called it! I can't wait to post all of the fun things we cooked and baked, so happy with the results. I love days that are spent relaxing, cooking, watching TV and enjoying each others company. Just wanted to check in, hope everyone had a great long weekend. I will post baking photos asap!

xoxo

Thursday, February 16, 2012

Cake Pops for my Valentine

Hi baking loves! So this is my second post on Majesty Bakes Cakes, woot woot! I haven't been baking very much these past weeks, work has been so busy and I just couldn't find the time. Until.......Valentine's Day of course!

So - i've only made cake pops once before. I use the Baby Cakes cake pop maker which was a gift from my boyfriend's parents - it's adorable (and purple)! It's fairly easy to use, but I found the biggest challenge wasn't baking the actual cake - it was these damn candy melts!! I've been warned about candy melts before from others, but I guess you just don't understand how difficult they can be until you use them on your own. Though the end product came out great (Greg was very happy!) spending 4 hours on a Monday night after my dance class slaving over candy melts wasn't ideal. I'm not sure if practice makes perfect, or if melts are challenging for everyone to use? I'll admit, cupcakes are my baking specialty. I am trying to branch out into making other things, so getting this cake pop maker was perfect. Nonetheless, I love to bake and I especially love baking for people that I love. Who can be in a bad mood when they have dessert??!

See below for the mayhem, madness, and triumph of cake pop creation:


The end result! Don't they look pretty?! =) The green and pink candy melts are Vanilla, and the middle one is Dark Cocoa. I made a basic vanilla cake which was very light and fluffy. Melts, candy wraps and ribbon all available at Michael's craft store


I brought a few to work for Valentine's Day - my team wasn't complaining about it! The plastic candy wraps kept them intact during my commute to work.


Hmmm OK so now onto the "fun" part! This was my first attempt at using the candy melts. As you can tell, complete disaster ahhh!! After I dipped the pops in candy melt, I wasn't sure how to let them dry without destroying them. I put them on a plate. Yeah, not the best idea. They all stuck to the plate and I ended up losing most of them. So sad! Thankfully I made about 4 dozen cake pops so I was able to remedy the situation.


Tin foil! Yes, why didn't I think of that? This worked out nicely. The bottom of the pops were kind of flat, but I didn't mind since I put the stick in the bottom. I stuck them in the refrigerator for a few minutes to speed up the drying process. Green is Greg's favorite color, if you guys are wondering about the random color choice ha! I thought they looked like little "monster pops" instead =)


The Cocoa pops were delicious! The combination of vanilla cake and rich chocolate just rocks. They reminded me a lot of the Entenmann's donuts my grandmother used to buy us as kids.


The infamous melts! I used Wilton's candy melts, if anyone has something they like better let me know!


The end

Hope you guys enjoyed my cake pop post! I'm going to try to start baking more, and that means more posts for you to read! Until next time...

xoxo