Friday, September 14, 2012
SWEET Halloween Costumes
Tuesday, September 11, 2012
When Cupcakes go to Heaven


Aren't these beautiful?! I'm talking about the cupcakes AND the photos taken of them! My sis and I spent the day Sunday making my favorite dark chocolate cupcake recipe for one of her college classes. She is a photography major, so I couldn't pass up the opportunity of showing off her kick ass skills! The first photo is my favorite - the cupcakes look like they're in heaven haha.
Tuesday, August 28, 2012
First Time Making Apple Pie!!!

You'll Need:
2 cups Gold Medal® all-purpose flour
1 teaspoon salt
2/3 cup plus 2 tablespoons shortening
4 to 6 tablespoons cold water
Filling shopping list
1/2 cup sugar
1/4 cup Gold Medal® all-purpose flour
3/4 teaspoon ground cinnamon
1/4 teaspoon ground nutmeg
Dash salt
6 cups thinly sliced peeled tart apples (6 medium)
2 tablespoons butter or margarine, if desired
Topping
1 tablespoon water
1 tablespoon sugar
1. Heat oven to 425°F. In medium bowl, mix 2 cups flour and 1 teaspoon salt.

Cut in shortening, using pastry blender (or pulling 2 table knives through ingredients in opposite directions), until particles are size of small peas. Sprinkle with cold water, 1 tablespoon at a time, tossing with fork until all flour is moistened and pastry almost cleans side of bowl (1 to 2 teaspoons more water can be added if necessary).


3. On lightly floured surface, roll 1 round of pastry into circle 2 inches larger than upside-down 9-inch glass pie plate, using floured rolling pin. Fold pastry into fourths; place in pie plate. Unfold and ease into plate, pressing firmly against bottom and side.
4. In large bowl, mix 1/2 cup sugar, 1/4 cup flour, the cinnamon, nutmeg and dash of salt. Stir in apples. Spoon into pastry-lined pie plate. Cut butter into small pieces; sprinkle over apples. Trim overhanging edge of bottom pastry 1/2 inch from rim of plate. (This was a little tricky! If there were breaks in the dough, we just took the excess from a different side of the pie and it came out fine)5. Roll other round of pastry. Fold pastry into fourths and cut slits so steam can escape; place over filling and unfold. Trim overhanging edge of top pastry 1 inch from rim of plate. Fold and roll top edge under lower edge, pressing on rim to seal; flute. Brush top crust with 1 tablespoon water; sprinkle with 1 tablespoon sugar.
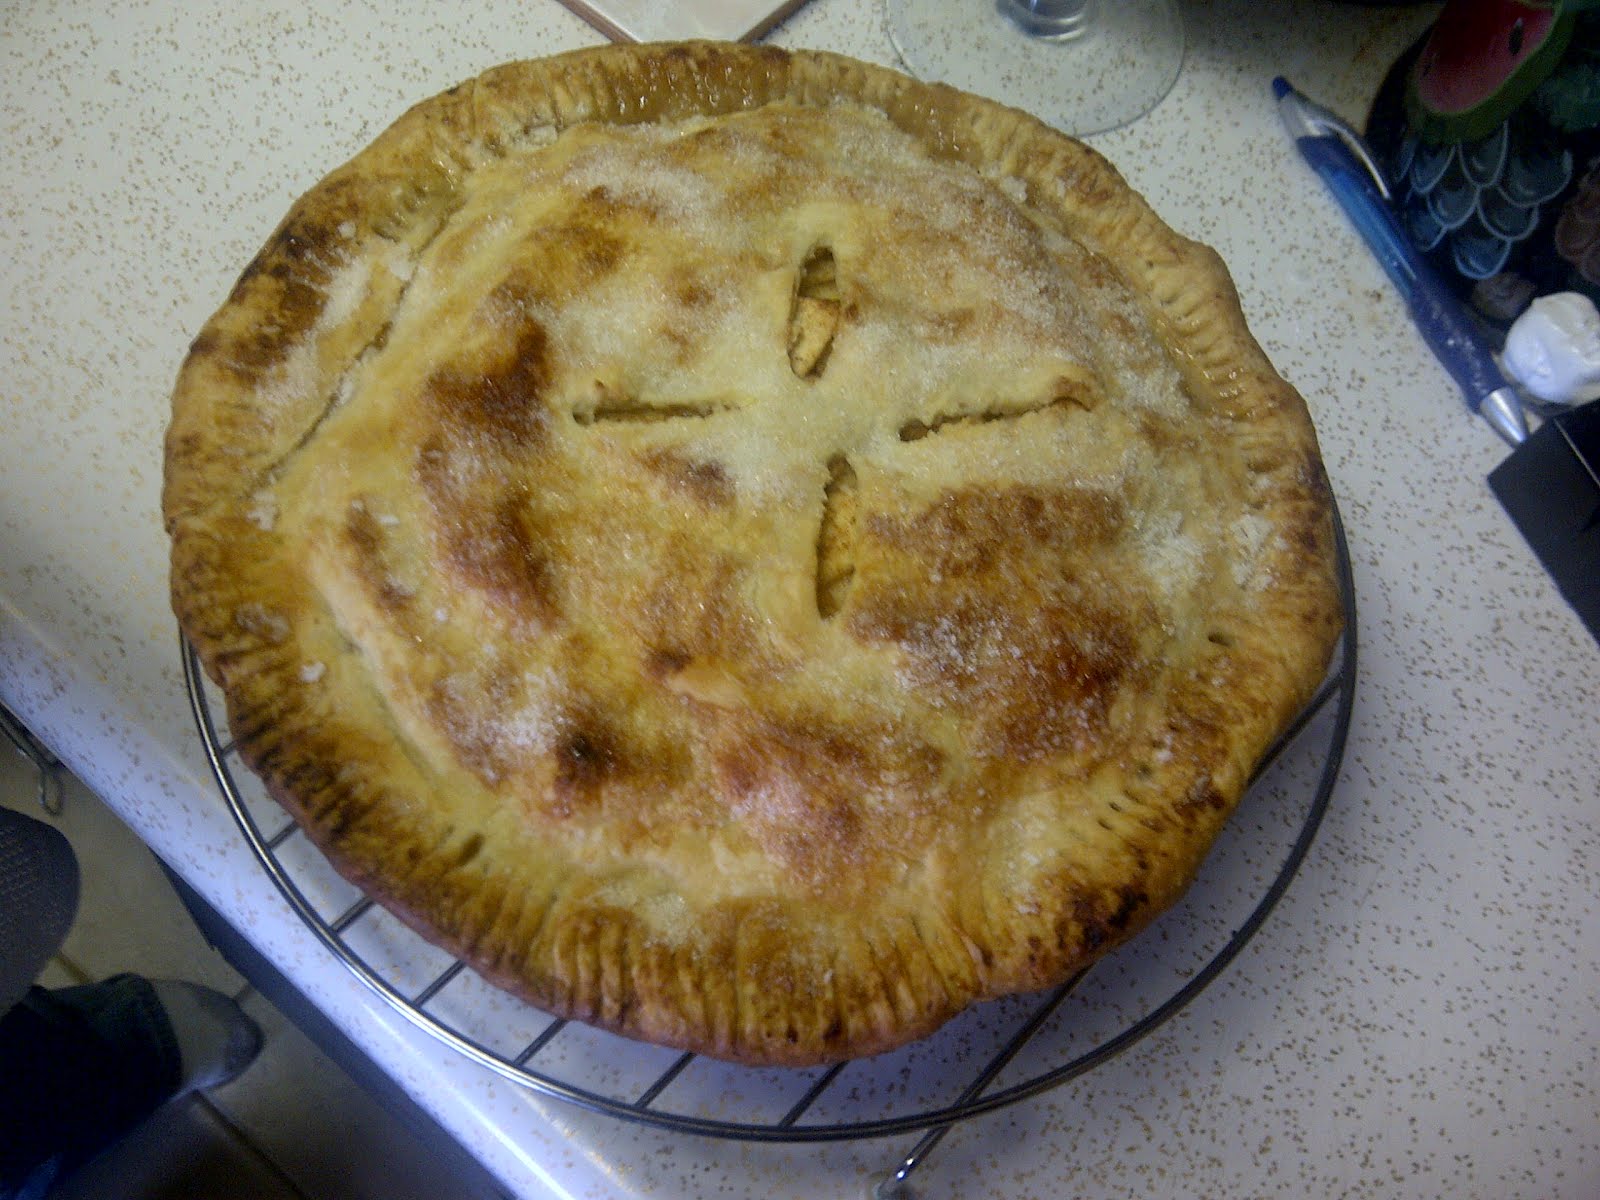
6. Cover edge with 2- to 3-inch strip of foil to prevent excessive browning; remove foil during last 15 minutes of baking. Bake 40 to 50 minutes or until crust is golden brown and juice begins to bubble through slits in crust. Cool on cooling rack at least 2 hours.
Our only minor complaint, was that our pie was a little watery on the bottom when we went to cut it. This could have been because we didn't drain the moisture from our apples, or because we didn't wait long enough for it to cool. Regardless, the pie was delicious and i'm not a big pie person at all. Definitely worth the time to make! Friday, August 17, 2012
How To Eat a Cupcake - Review of a Page Turner

I half expected How to Eat a Cupcake to be a fluffy baking book with adorable recipes, pictures, pink stuff and possibly even kittens. Which I would have been fine with, I am a girl afterall. However, this book is nothing of the sort. It has this menacing undertone that something is always brewing, which made for a great page turner. On my commute into Manhattan for work, on my couch, in my car (when my fiancé was driving, of course) I had my nose in this novel. Page after page I read about two frenemies who couldn’t be from more different worlds, and somehow went into business together to open a cupcake shop. Everyone’s dream, right? Book over? Hardly. The trials and tribulations of the shop, cleverly titled Treat, is anything but sweet. Without giving too much of the book away (because you should get yourself a copy!) this book is filled with everything - lies, vandalism, family, long lost friends, growing pains, ex boyfriends, class conflict and of course – cupcakes. Glorious, tasty, wonderful, unique cupcakes. The book gave me a few ideas on new recipes I wanted to create myself. My apron goes off to Meg Donohue, who wrote a book I never wanted to put down!
Monday, July 9, 2012
Homemade Funfetti Cupcakes!
So adorable, right?! We clearly went with a 4th of July theme. I got the sprinkles and little giraffes at A&P! So - you can make funfetti out of any cupcake or cake batter you'd like, just be sure that the batter is light - like vanilla - so you can see the fun sprinkles inside! All you do is mix your sprinkles of choice into the batter, mix thoroughly, and bake as usual. When you take a bite, you will see the rainbow of colors inside! I wish I took a photo of the inside, but trust me you won't be disappointed =) They are my fiance's favorite type of cupcake! 

Friday, June 29, 2012
Easy Chocolate Cookies - and God are they GOOD!

Hi dolls! So it's clearly been a while since my last post, finding time to bake lately has been a struggle. I found this recipe on Food.com, and the chick who posted it said that it is a recipe from a Williams-Sonoma Kids Baking Cookbook.
Easy Chocolate Cookies
Yields: 24 cookies
Prep time: 15min
Cook time: 10min
Total time: 25min
1/2 cup confectioners' sugar
1 2/3 cups all-purpose flour
1/2 cup unsweetened cocoa powder
1 1/2 teaspoons baking powder
1/4 teaspoon salt
1/2 cup butter
1 1/4 cups sugar
2 large eggs
1/2 teaspoon vanilla extract
1. Preheat oven to 350 degrees Fahrenheit.
2. Grease 2 baking sheets with butter (or spray).
3. Put the confectioners' sugar into a medium bowl and set aside.
4. In another medium bowl, stir together the four, cocoa, baking powder, and salt.
5. In a large bowl, using an electric mixer on medium speed, beat the butter and sugar for about 3 minutes (until creamy). Make sure to scrape down the sides of the bowl!
6. Add one egg to the bowl and beat until blended. Then, add the second egg.
7. Add the flour mixture. Mix on low speed until blended.
8. Using a tablespoon, scoop up a rounded spoonful of dough.
9. Roll the dough into a ball using your hands.
10. Roll the ball in the confectioners' sugar until covered.
11. Place the balls on the prepared baking sheet.
12. Space each ball of dough about 2 inches apart.
13. Bake cookies for 10 to 12 minutes, until crackled and puffed.
14. Enjoy! (:.
Friday, May 11, 2012
We MADE Mozzarella from Scratch!
So here's what you need:
1 1/2 level teaspoons citric acid dissolved in 1/2 cup cool water
1 gallon pasteurized whole milk
1/8-1/4 teaspoon lipase powder
1/4 teaspoon liquid rennet (or 1/4 rennet tablet) diluted in 1/4 cup cool, unchlorinated water (we had some trouble actually finding rennet, they don't sell it everywhere. Try a baking shop or some type of specialty store)
1. While stirring, add the citiric acid solution to the milk at 55 degrees F and mix thoroughly. My fiance is a cheese making master! He is also wearing a Spiderman apron. OK back to cheese.

2. Heat the milk to 90 degrees F over medium/low heat (The milk will start to curdle)
3. Gently stir in the diluted rennet with an up-and-down motion, while heating the milk to between 100-105 degrees F. Turn off the heat. The curds should be pulling away from the sides of the pot, they are ready to scoop out (about 3 to 5 minutes for this). See photo below! These curds are ready to go!

4. The curds will look like thick yogurt and have a bit of a shine to them, and the whey will be clear. If the whey is still milky white, wait a few more minutes
5. Scoop out the curds with a slotted spoon and put into a 2-quart microwavable bowl. Press the curds gently with your hands, pouring off as much whey as possible
6. Microwave on high for 1 minute. Pour off whey.
7. Knead and reheat for 30 seconds, if needed. We had to do this step a few times, you want it to be HOT.
8. Knead the curds as you would pizza dough while still in the bowl. Many people recommend gloves while doing this, but Greg just did it with his hands ha! Drain any excess liquid.
9. Remove curd from bowl and continue kneading, return to microwave if needed. We did keep microwaving it a few times, the curds are hard to knead if it's not hot enough. Look how beautiful it is!!!!!

10. Stretch!!!!!!!!!!! Stretch!!!!!!!!!!! Stretch!!!!!!!!!!! This part is SO fun.

11. Da da da DAAAAAAAAAAAA! Cheese has miraculously appeared! Knead it back into a ball (or a few smaller balls) and it's ready to eat! Nice and warm and delicious!

12. To harden the cheese up a little bit (only if you want to) put in a water bath for a bit and store in a Ziplock bag in the refrigerator


